Growing Chamomile Tea
A few years ago, as I was trying to use my huge mint crop, I discovered I could just add hot water, let it steep, and viola! peppermint tea. I know it’s not rocket science, but my brain just hadn’t made the connection between peppermint tea bags filled with dried leaves (and likely some crappy fillers), and my fresh mint leaves. I discovered that there are lots of plants that happily grow in zone 3 gardens that make lovely herbal teas. This year, my new favourite is chamomile. The stuff grows like a weed, and drying it is so simple. Here’s how you can grow your own cup of chamomile tea.
Start From Seed
When I grow plants I want to eat, I’ll start from seed whenever possible. I got my chamomile seeds from West Coast Seeds, (as of August 2020 they aren’t available, but I suspect they will be next year). It’s important you are getting Matricaria recutita seeds (german or scented chamomile), not Tripleurospermum perforatum (Mayweed or scentless chamomile). Scentless chamomile is classified as an invasive species in Alberta (and it wouldn’t make nice tea either). You can start chamomile indoors, or direct seed in the spring. Chamomile seeds are a bit like carrots - they are tiny, you can’t plant them too deep, and they need to stay moist. For this reason, I prefer to seed them indoors, and transplant. If you plant them outside, just scatter them, press into the soil, and water well ( but carefully, you don’t want them to float away). No need to cover them with soil.
When to plant
Chamomile likes cool weather, so you can get this plant outside in early to mid may in your zone 3 garden. If you are transplanting, it’s good to harden the plant of first (although, I’ll admit I didn’t, and it was just fine).
Where to plant
Chamomile likes full sun, and well drained soil. I planted my chamomile in three places this year, and it has flourished in my herb spiral - the area with the best drained soil. I would be cautious about planting chamomile in an area that is visible to passerby’s - it can easily be mistaken for it’s noxious weed cousin. Similar to it’s noxious weed cousin, chamomile is a prolific self seeder, which means, it’s an annual plant, but it’s most likely it will show up again next year. I adore self seeding plants, it makes my work easier, but be aware wherever you put chamomile, it will likely be there for a few years.
June 7th, 3 weeks after planting, you can see the Chamomile in front of the rainbow flag.
June 22nd, it’s growing quickly!
July 20th, next to the overgrown tarragon & nasturtiums. It’s huge!
How to Harvest
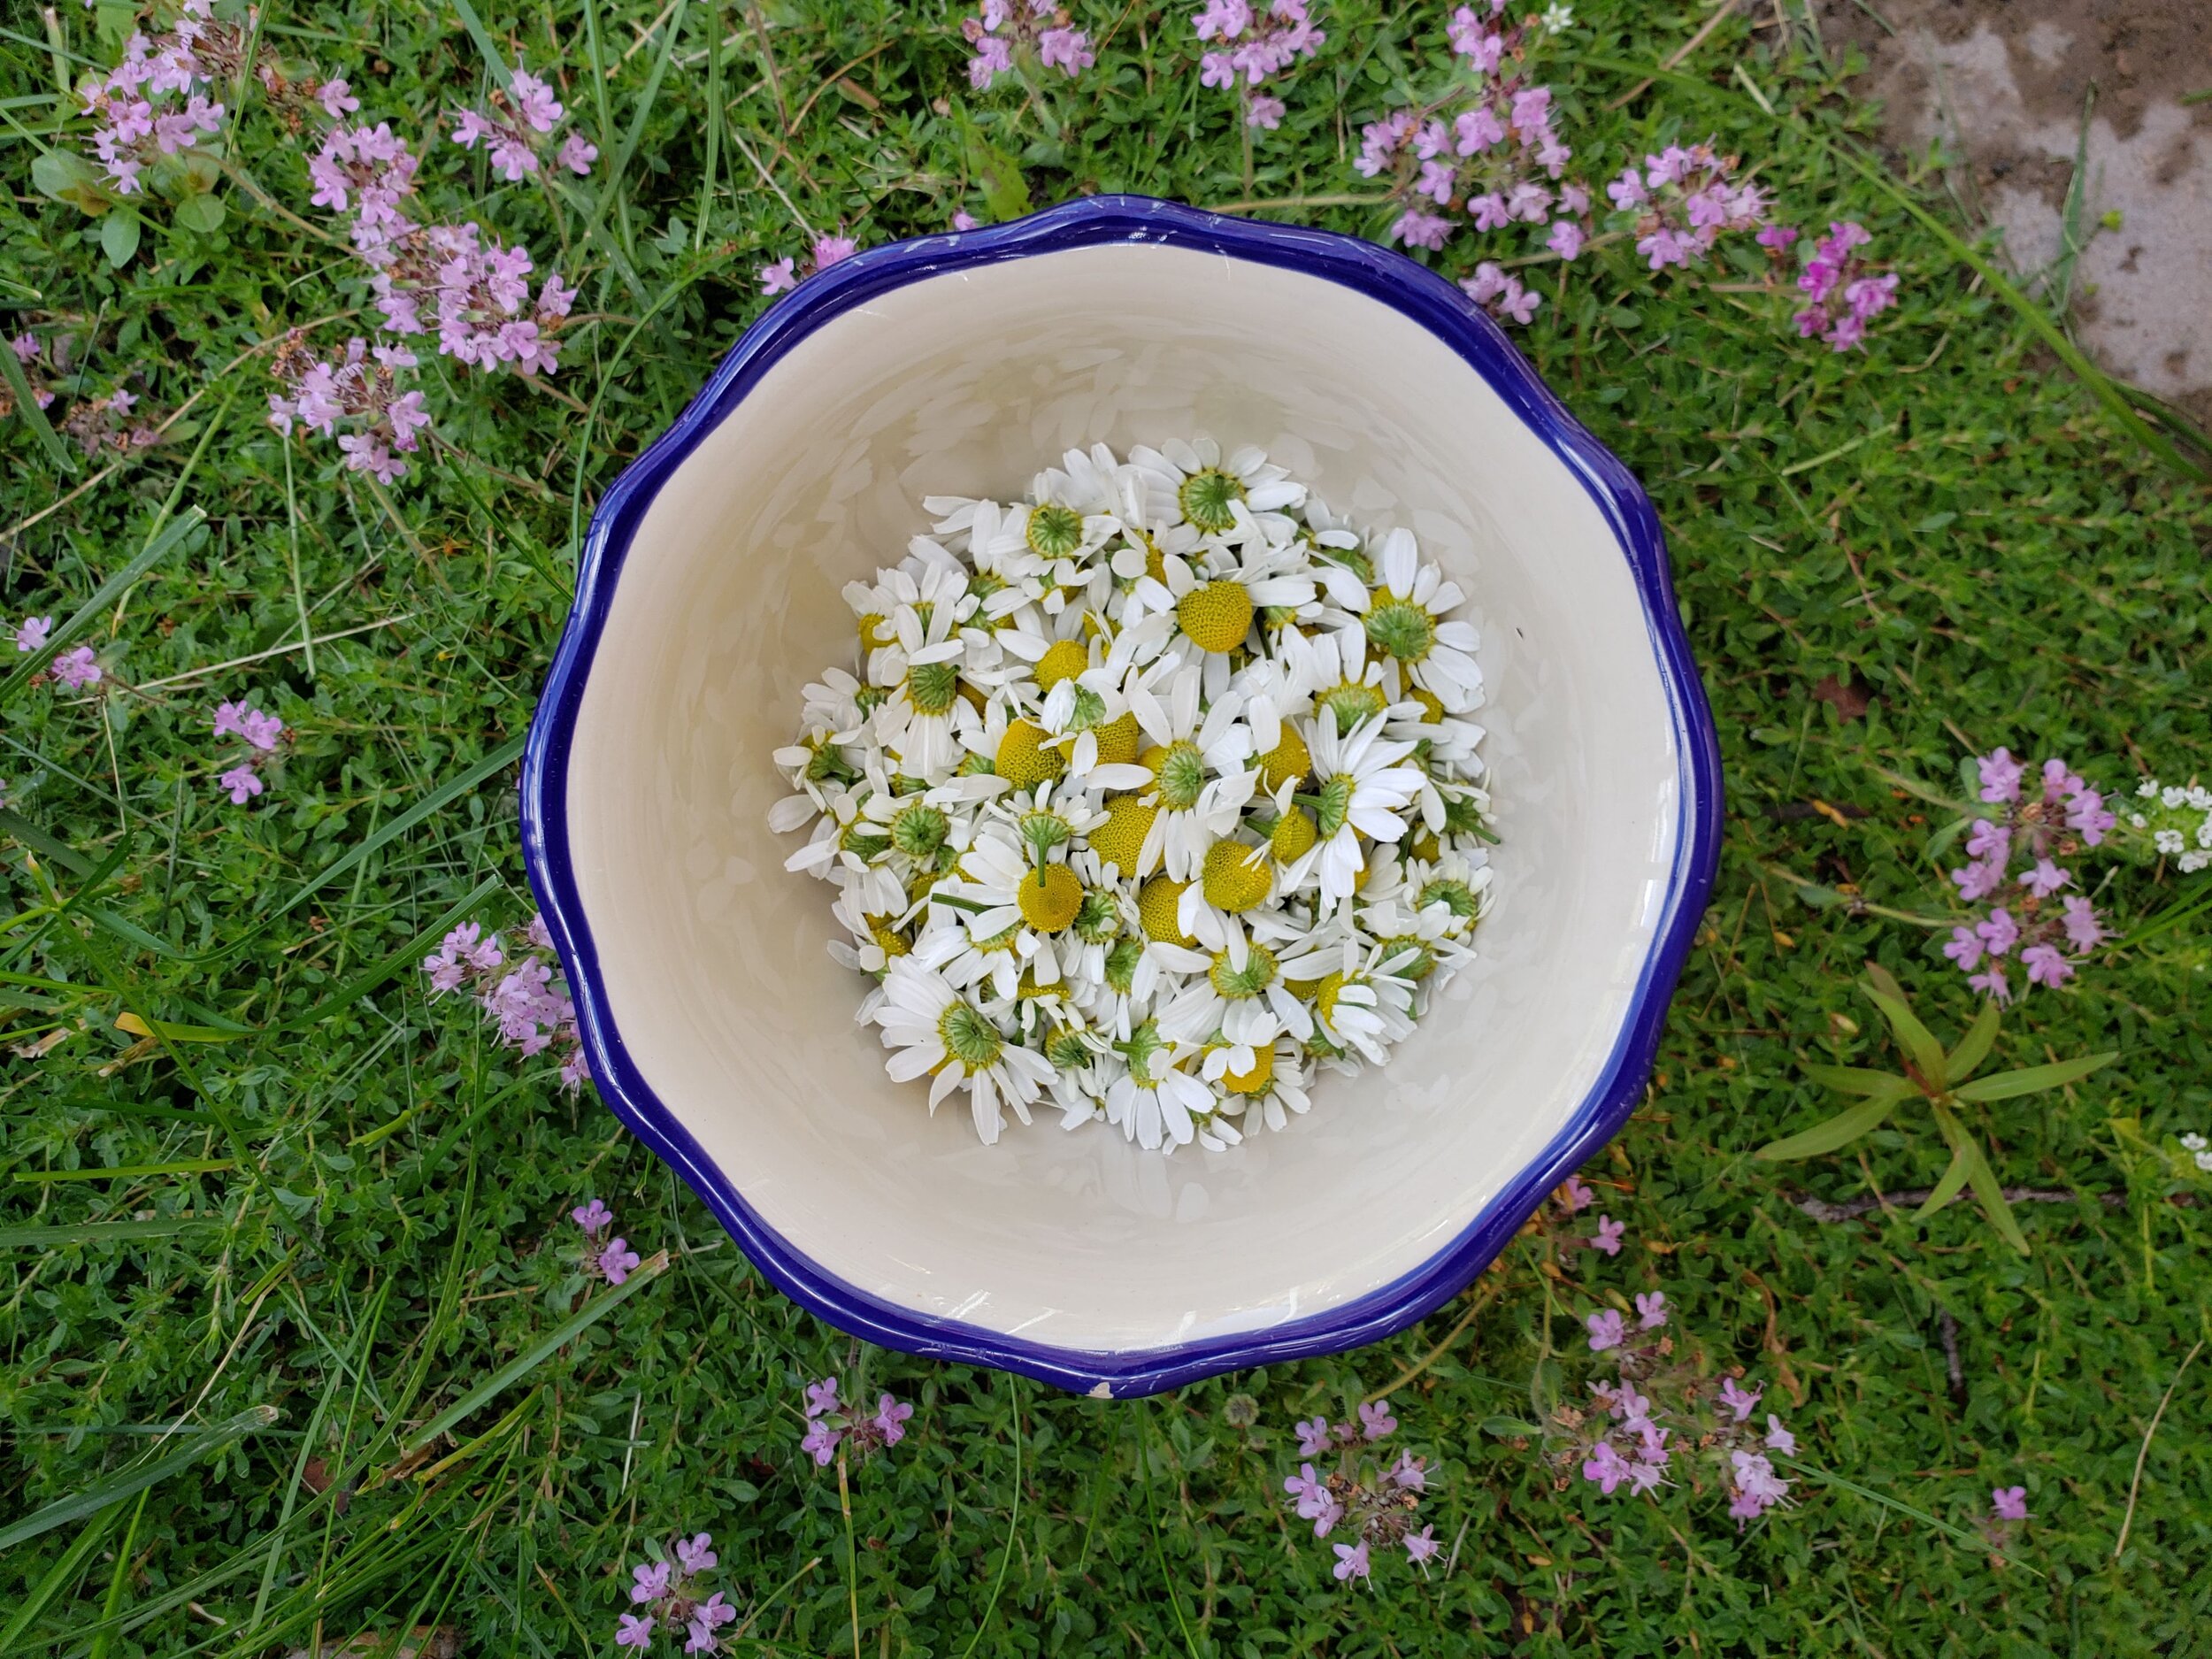
Chamomile tea is made from the flower heads, so once you have a good bloom, it’s time to harvest. Wait until the afternoon when the dew has evaporated, and the petals are are circling the centre ( at night the petals will all point downwards). I use my thumbnail, and pop the flower head off as close to the base as I can - avoiding the stem. We have harvested our big plant four times now, and by the next week, it looks like we haven’t harvested it at all.
Drying
This is the easy part. We’ve been drying on hot sunny days. I lay the flowers out on a cookie sheet, cover them with a baking cooling rack (so they don’t blow away), and leave them in the sun. Two good days in the hot sun, and they are dried. You know they are ready when the yellow centres crumble if you rub them between your fingers. If you don’t have any hot sun, you can also dry them indoors on a cookie sheet - it will just take longer, likely a week or more, or use a proper dehydrator.
Making Tea
Now you have your dried chamomile, you pop a generous teaspoon into a tea bag or loose leaf tea strainer, pour boiling water over it, let steep 5-7 minutes, and feel darn proud of all your hard work! Store your dried chamomile in an airtight container for up to one year.


